Are you a crafter with a love for all things retro? Have you ever dreamed of bringing those pixelated video game characters to life with yarn and a hook? Then welcome to the ultimate guide on crafting 8-bit crochet patterns! In this post, we’ll walk you through the basics of pixel art, show you how to turn your favorite characters into stunning crochet squares, and share some tips and tricks to help your designs really pop. Grab your yarn, hook, and creative spirit — it’s time to level up your crochet game!
Understanding Pixel Art Basics: Turning Nostalgia into Crochet Magic

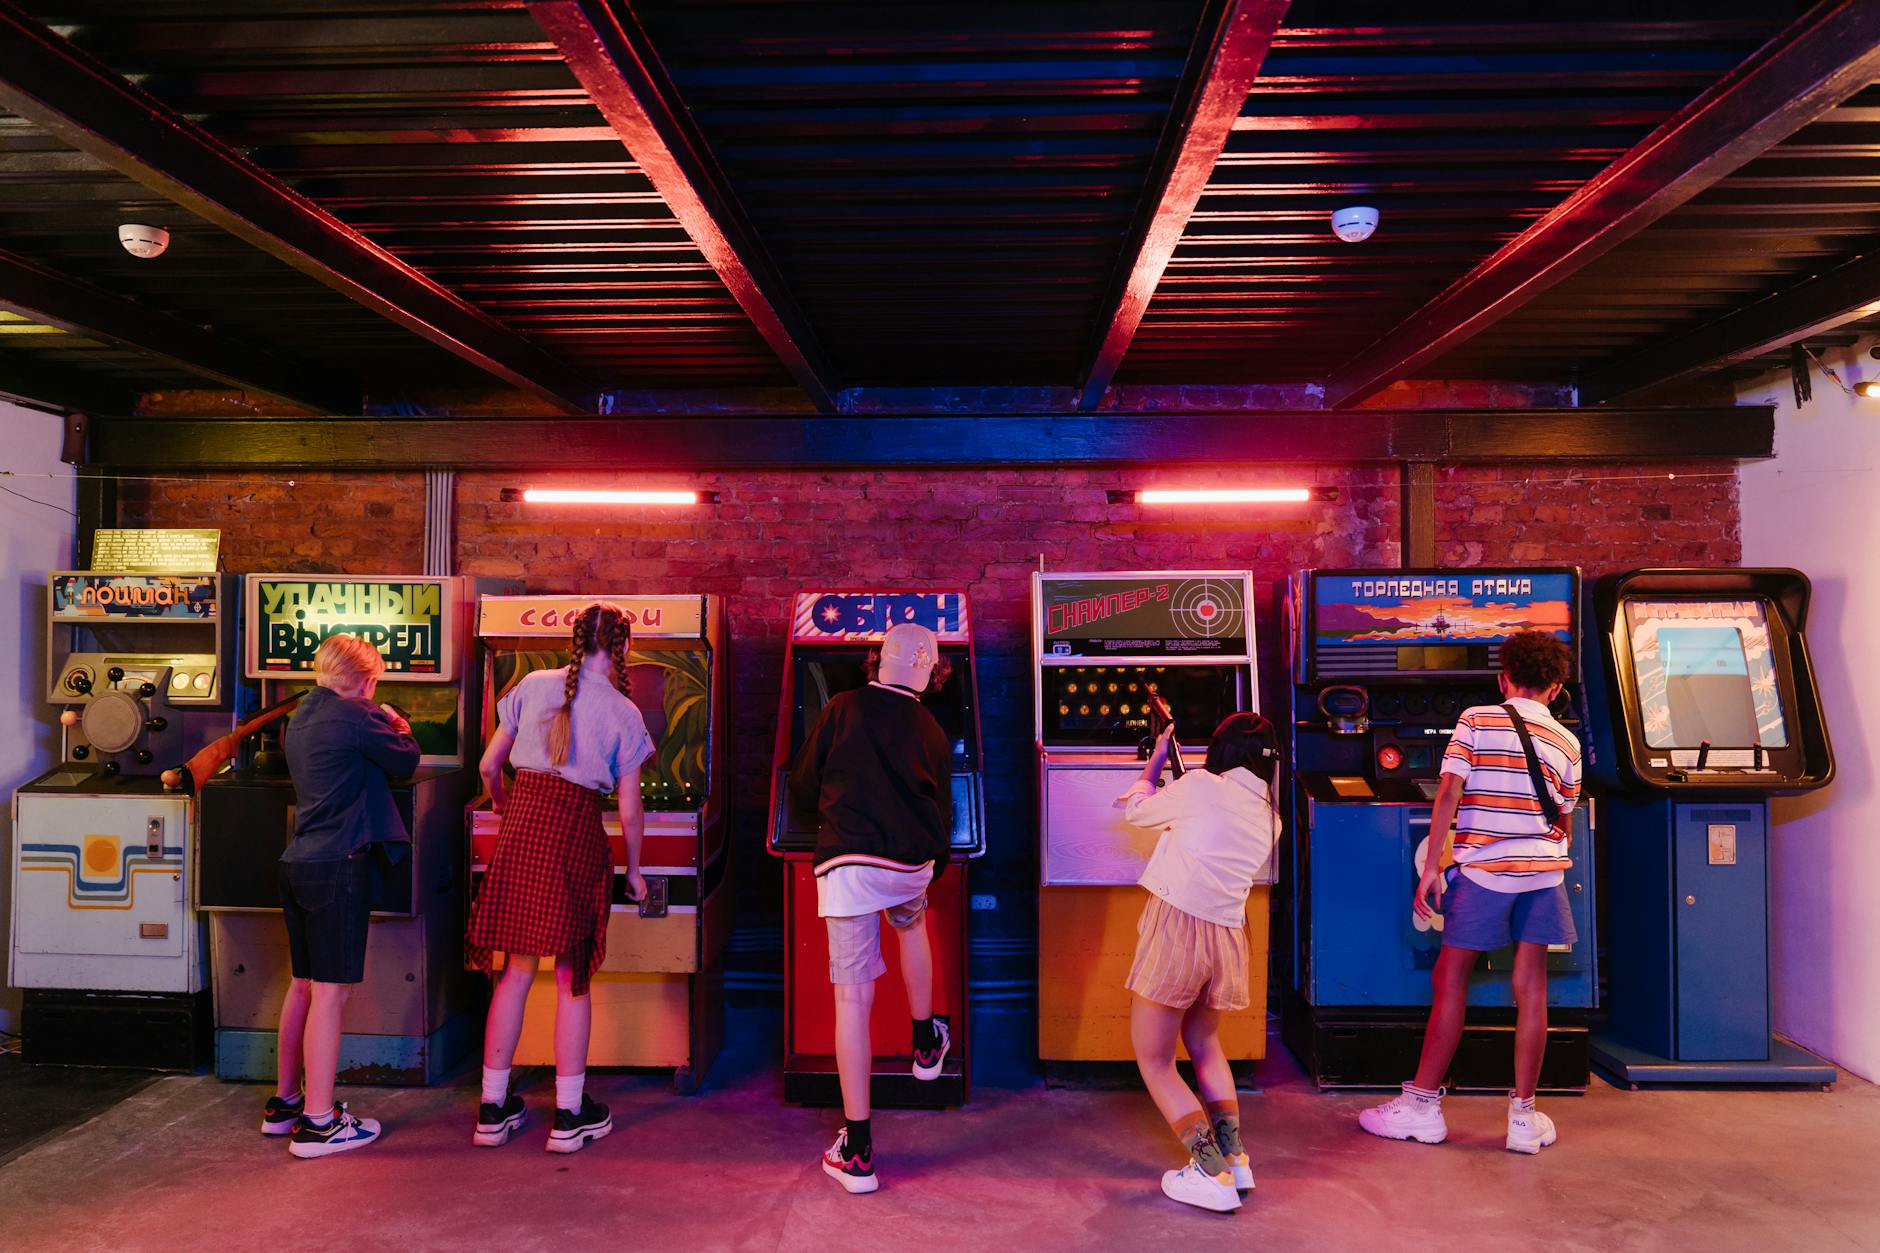
Let’s dive into the world of 8-bit art! If you’re a fan of old-school video games, you know 8-bit graphics are those charming, pixelated images that gave life to classics like Mario and Space Invaders. It’s all about those tiny squares of color that come together to create characters, scenes, and entire game worlds. And here’s the best part: those little squares are perfect for crochet projects!
Think of each crochet square like a pixel on the screen. By grouping squares into blocks, you can easily translate these pixelated designs into crochet form. Each block in your 8-bit crochet pattern becomes a part of your masterpiece, and by switching up yarn colors, you can recreate those retro images that take you back to the golden age of gaming. Whether you use the corner-to-corner (C2C) technique or stitch the squares separately, the final result is a piece of crochet art that looks like it came right from your favorite arcade!
Why Crochet and 8-Bit Art Are a Perfect Match
Crochet and 8-bit art are a match made in crafting heaven, and here’s why. Both are built around the idea of small, repeated units — pixels in the digital world, stitches in the crochet world. Just like how 8-bit games use simple squares to build something amazing, you can use your crochet skills to create a similar effect. All it takes is a bit of imagination and some colorful yarn!
The simplicity of 8-bit art makes it ideal for crochet projects. Unlike detailed, complex images, pixel art is easy to break down into manageable chunks. This makes it perfect for crafters of all levels, from beginners looking for a fun challenge, to seasoned pros who want to experiment with nostalgic designs. Plus, it’s a fantastic way to bring a little retro flair into your home décor or gift-giving.
Selecting the Perfect Yarn and Hook: Little Changes, Big Differences
When it comes to 8-bit crochet patterns, the materials you choose can make all the difference. The right yarn and hook size can turn a simple design into a stunning work of art. The secret? It’s all about picking yarn that shows off your stitches and finding the perfect hook size to match.
First things first, let’s talk yarn. For 8-bit designs, you want a yarn that gives you good stitch definition. Think smooth, tightly spun yarns that create clean, sharp edges — just like those classic pixelated characters you love. Stay away from fuzzy or textured yarns; while they can be fun to work with, they tend to blur the edges of your design. Cotton or cotton blends are great choices because they’re sturdy enough to hold their shape, but if you’re making a blanket, you might prefer something softer and cozier to snuggle up with.
Finding the Right Hook Size: Match Your Tools to Your Vision
Now, let’s chat about hooks! The size of your crochet hook can have a big impact on the final look and feel of your project. If you’re going for a design with lots of detail — like a small character or intricate pattern — a smaller hook will keep your stitches tight and your design looking sharp. Smaller hooks create tighter stitches, which means more detail and precision in your design.
On the other hand, if you’re planning a larger project, like a cozy blanket or a colorful wall hanging, a medium-sized hook will make your life easier. It will allow your stitches to be a bit looser and your project to grow more quickly. Just remember, the size of your hook should match both the weight of your yarn and the level of detail you want. Don’t be afraid to play around with different sizes until you find what works best for your project. Experimentation is half the fun!
Matching Yarn and Hook: The Dynamic Duo of Crochet
Yarn and hook size go hand in hand, like peanut butter and jelly. A chunky yarn with a tiny hook will feel like wrestling a yarn monster, while a thin yarn with a large hook will look loose and messy. The goal is balance: pair a lightweight yarn with a smaller hook for detailed work or use a chunkier yarn with a larger hook for something bold and textured.
Always keep your end goal in mind. If you want a piece that stands out with sharp lines and vibrant colors, a smoother yarn and tighter hook will help you achieve that. If comfort is more your style, like a snuggly blanket, opt for softer yarns and a slightly larger hook for a more relaxed feel. Don’t be afraid to mix it up and try different combinations. Crocheting is an art, and there are no hard rules — just guidelines to help you bring your vision to life.
Tips for Choosing the Right Materials: It’s All in the Details
Remember, a few small tweaks in your yarn choice or hook size can make a big difference in your final piece. It’s all about finding what feels right for you and your project. Don’t stress too much about getting it perfect on the first try — the beauty of crochet is that you can always pull it apart and start again if needed.
Converting Images to Crochet Charts: The Adventure Begins

Now that you’ve gathered your yarn and hook, it’s time to dive into the most exciting part — creating your own 8-bit crochet pattern from an image you love! Start by selecting a simple image that brings back those nostalgic vibes. It could be a character, a game logo, or even a memorable scene from a favorite classic. Once you have the perfect image, it’s time to transform it into a crochet masterpiece!
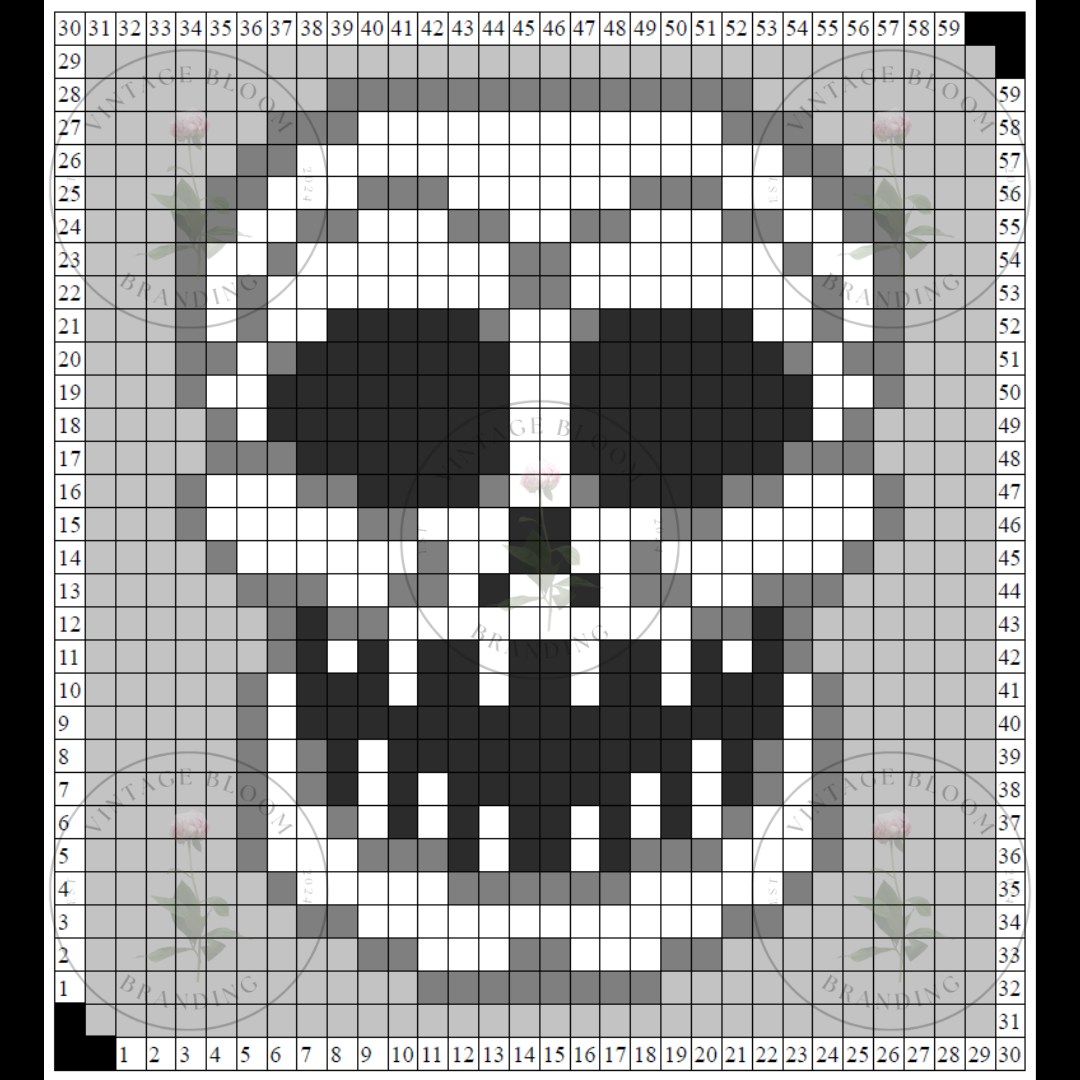
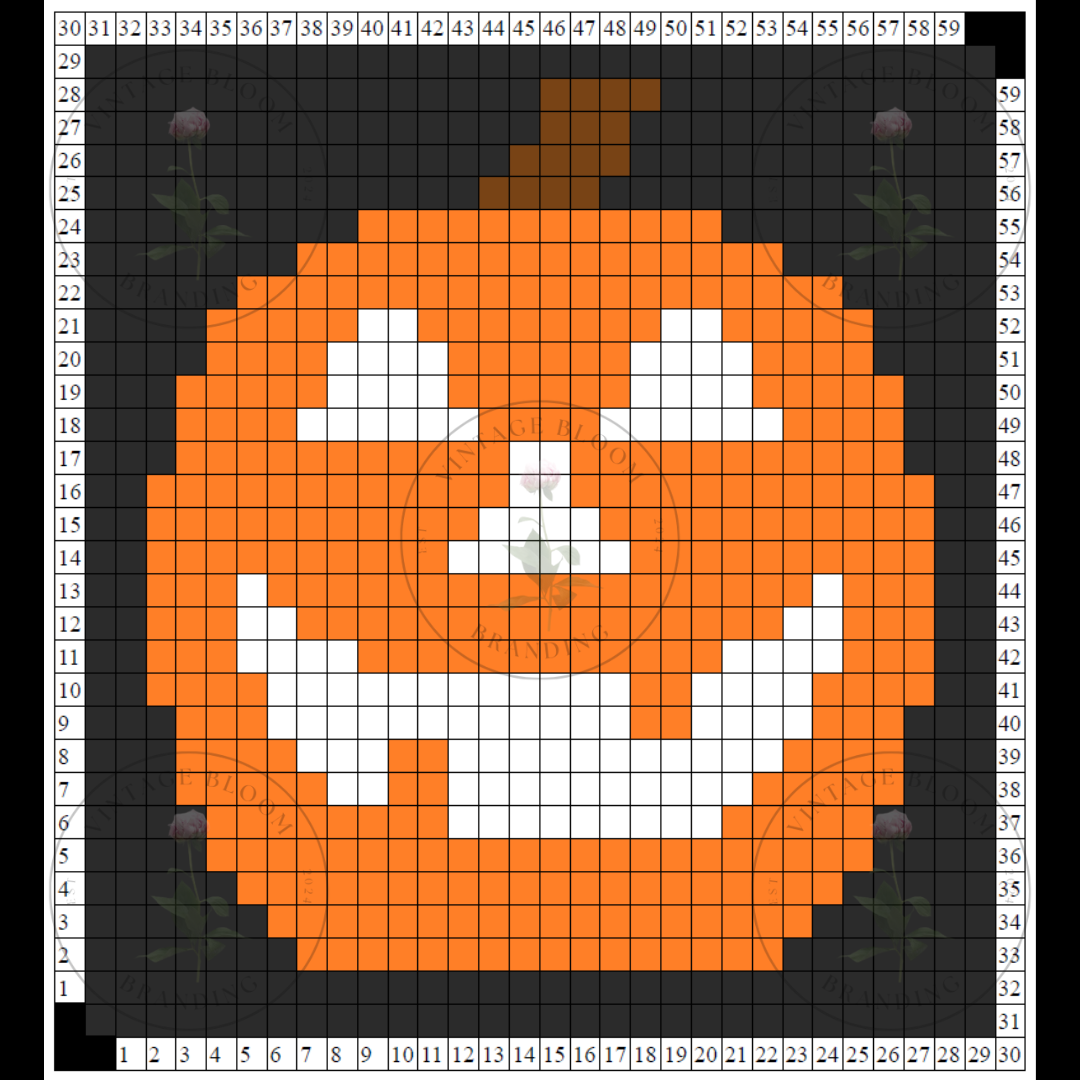
To get started, use graph paper or a digital tool to create your crochet chart. Think of each square on your graph as a pixel in your 8-bit image. As you transfer the design, fill in the squares with colors that match your image. Each square on the chart represents a C2C grouping or an individual crochet square, giving you a clear guide to follow as you stitch away.
Don’t Be Intimidated: Easy Tips for Beginners
If you’re new to charting your own designs, take a deep breath and relax — you’ve got this! I’m here to help you every step of the way. I regularly add new downloadable charts with instructions and yarn recommendations to the site, so keep an eye out for those! Plus, you can grab my free blank chart to print out and use for your creative experiments. Start with a smaller, simpler image to get a feel for the process. It might seem tricky at first, but trust me, with a little practice, you’ll be turning your favorite images into crochet patterns in no time!
Choosing Your Design Method: Endless Possibilities Await
Now that your chart is ready, it’s time to bring your 8-bit crochet pattern to life! There are several methods you can use, depending on the look you’re going for and the type of project you want to create. Two of my favorite approaches are the mini C2C method and the full-size C2C method, both of which can give your design those crisp, pixel-perfect edges. Crocheting single solid granny squares and combining to create the design would also be an option.
If you like working with smaller pieces, the mini C2C method is a fantastic option. This technique involves creating smaller crochet blocks of various designs and then stitching them together like a quilt. The standard C2C simply make larger pixels. They are both perfect for those who want to combine multiple patterns into a larger blanket, as it allows for a lot of flexibility in design and layout.
On the other hand, if you are dreaming of a larger blanket with a single design, you might consider stitching together solid blocks. Each pixel in the pattern would be a solid granny square (tutorial to come, stay posted). This method allows you to work on individual pixels separately and then join them to create a grand piece – simple and striking!
Experimenting with Separate Squares: A New Challenge Awaits!
While I haven’t tried making separate squares yet, I’m excited to dive into it soon and share my experience with you! As I mentioned, the concept is similar to crafting granny squares, but instead, you create small, individual solid color pieces that come together to form a single design. Imagine stitching together a bunch of colorful squares to create a larger blanket that displays one continuous pattern — it’s like assembling a giant puzzle, one piece at a time.
This method could be an excellent option for those who love variety in their crochet projects. You can mix and match different colors, textures, and even patterns to create a blanket that’s uniquely yours. Plus, working on smaller squares makes the project more portable, so you can crochet on the go! Once all your squares are complete, stitch them together for a vibrant, retro-inspired masterpiece.
C2C crochet pattern Options: Unlocking the Secrets to Clean Lines
For those interested in making their designs stand out even more, I will be writing a separate post on how to make your C2C blankets single or dual-sided. If you’re after clean, sharp lines, the single-sided method is your best bet. However, this approach will require backing your blanket, which might make it a bit heavier. I enjoy Cozy 2 Crochet’s instructional video found here.
If you’re planning to frame the squares or use them as decorative pieces, the single-sided method works beautifully since you won’t have to worry about the back showing.
Experimenting with Colors: Go Beyond the Original Palette

Just because the classic 8-bit designs used a simple color palette doesn’t mean you have to stick to it! One of the best things about crochet is the freedom to play around with different yarn colors and make something that’s truly your own. Why not go bold with some neon shades to give your piece a bright, retro 80s vibe? Or, add a fun twist with glow-in-the-dark yarn that shines at night! Personally, I love throwing in a bit of metallic gold to add a touch of sparkle and shine.
The best part? There are no strict rules when it comes to colors — just have fun with it and let your creativity take the lead. Try mixing up the shades, combining different textures, and seeing what kind of magic you can create!
Balance Your Colors: Keep It Fun, Not Overwhelming
Worried about your colors clashing or your design becoming too chaotic? Don’t stress! There are easy ways to balance it all out. If you’re experimenting with lots of bright or bold colors, consider using a neutral shade as the background. Colors like white, black, grey, or even soft pastels can help tone down the brighter hues and give your design a more polished, cohesive look. This way, your main design elements will still pop, but without feeling too busy or overwhelming.
Think of your background color as the canvas for your crochet art. It’s there to support and enhance the main design, letting your creative choices stand out while keeping everything in harmony.
Dare to be Different: Creating Your Unique Color Story
Don’t be afraid to go against the grain and create your own unique color story. If you love a certain color combination, give it a try! Maybe a classic 8-bit character in rainbow shades or a video game logo in pastels sounds exciting. The beauty of crochet is that every piece you make is a chance to experiment and discover something new.
Take inspiration from the world around you — think of sunsets, city lights, or even your favorite outfit. Translate those colors into your crochet projects and see how they bring your designs to life. Remember, this is your creative journey, and there’s no wrong way to go about it.
Tips for Finding Your Perfect Palette
Feeling stuck on where to start with your colors? Here are a few tips to help you find your perfect palette:
- Start with a Focal Color: Pick one color that you love or that fits the theme of your design. Use this as the anchor and build your palette around it.
- Play with Contrasts: Mixing light and dark shades can add depth and dimension to your design. Try pairing bold colors with softer neutrals for a dynamic effect.
- Test Before You Commit: Lay out your yarns next to each other to see how they look together. Don’t be afraid to switch things up if a combo doesn’t feel right.
- Think About Mood: Different colors evoke different emotions. Bright, warm tones can make your piece feel lively and energetic, while cool tones can create a calm, soothing vibe.
- Trust Your Instincts: Ultimately, go with what feels right to you. If you love it, that’s what matters most!
Displaying Your Finished Piece: Show Off Your Retro Flair!
Once your crochet square is complete, it’s time to show it off! If you’ve made multiple squares, consider stitching them together to create a stunning throw or blanket. Alternatively, mount your favorite square in a frame and hang it on your wall for a quirky, nostalgic touch. You can even make a series of squares featuring different characters or icons and turn them into unique home décor pieces such as pillow covers or placemats — the possibilities are endless!
Crocheting 8-bit patterns is a fantastic way to combine your love for crafting with your passion for pop culture. Whether you’re recreating your favorite video game character or designing a custom pattern that speaks to you, the process is sure to be both fun and rewarding. So grab your hook, pick out some yarn, and get ready to crochet your way back in time!
With this ultimate guide in hand, you’re now ready to dive into the world of 8-bit crochet patterns. Happy crafting!


